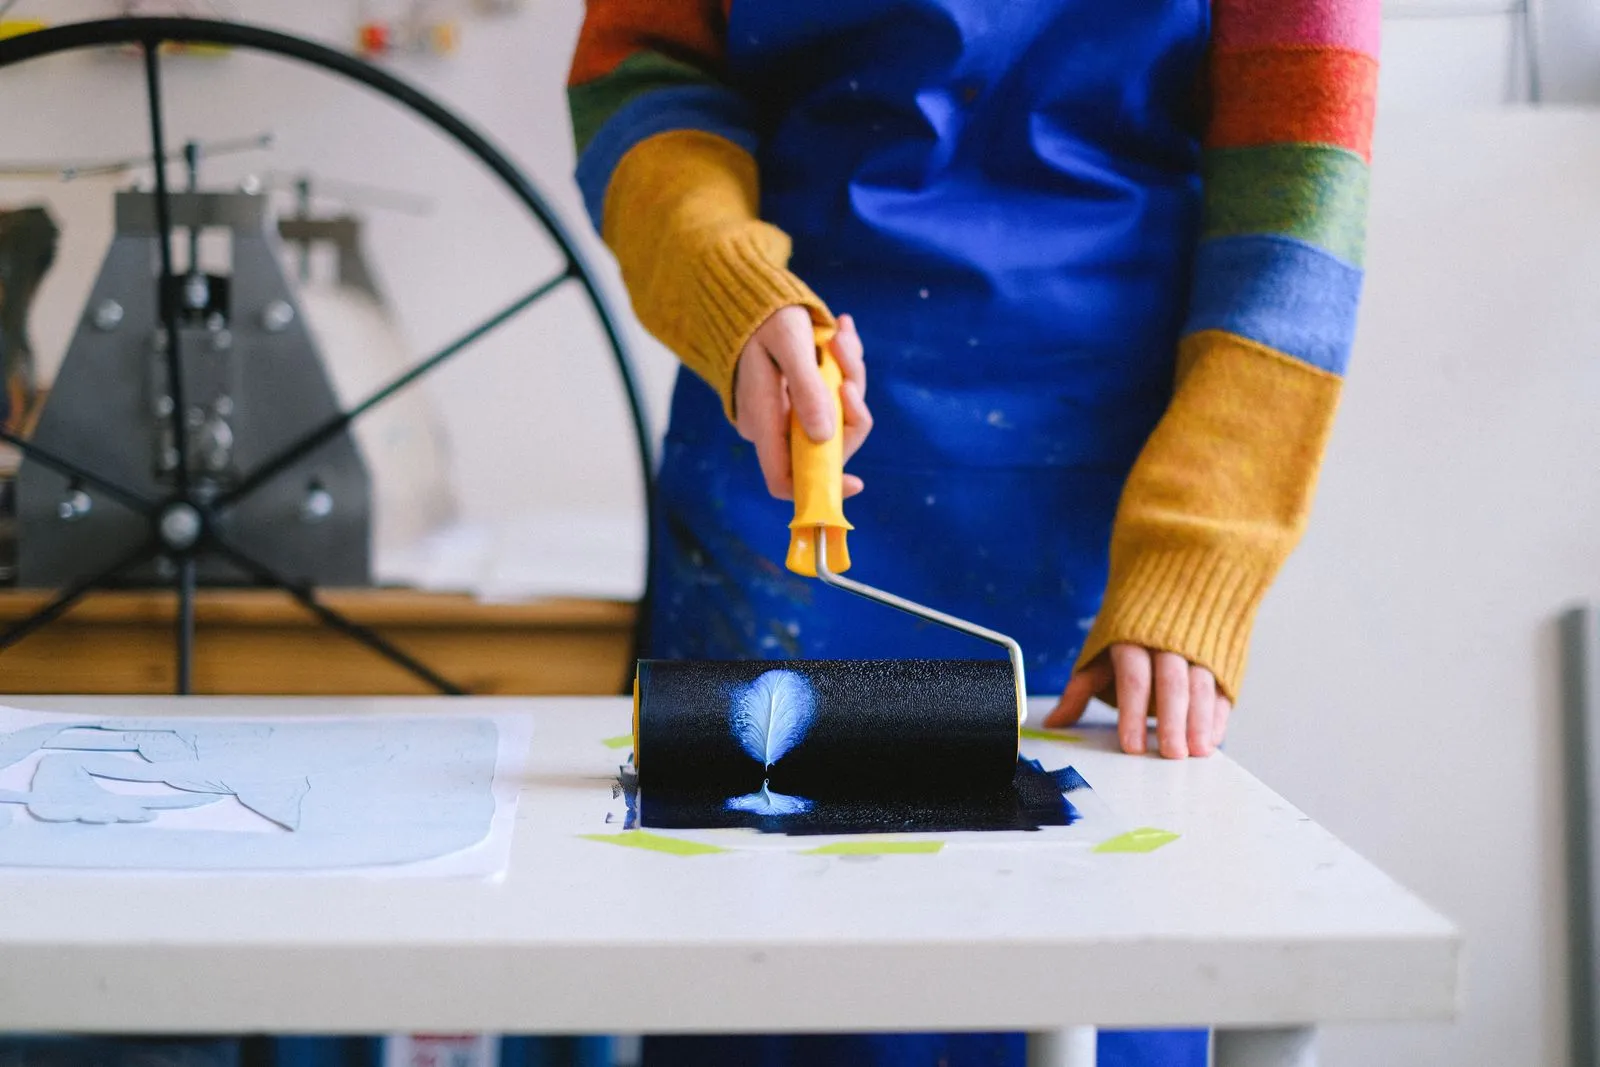
Choosing a printmaking process starts with the kind of image you want to create and the work you enjoy doing. Linocut turns carved shapes into bold prints. Etching builds detailed lines on a prepared plate. Screen printing pushes ink through a stencil, making it well suited to flat colors and repeatable designs. Each method has a distinct workflow, so comparing the tools and results can help you choose a useful first step.
Linocut: Carve Bold Shapes
In linocut, you cut into a soft block of linoleum, leaving the raised areas to receive ink. You roll ink across the surface, place paper on top, and transfer the image by hand or with a press. The carved-away areas stay unprinted, so planning depends on the relationship between positive and negative shapes.
Choose linocut if you like drawing with clear silhouettes, strong contrast, and visible marks. It works well for posters, graphic illustrations, and simplified landscapes. Fine lines are possible, but the tool and block encourage decisive cuts. A useful first project is a small design with a few large shapes rather than tiny details.
Etching: Build Detailed Lines
Etching typically uses a metal plate coated with a protective ground. You draw through the ground, then use an etching bath to bite those exposed lines into the plate. After removing the ground, you work ink into the incised marks, wipe the plate surface, and print it under pressure. The result can include delicate lines and varied textures.
Etching may suit you if you enjoy close observation, drawing, and gradual changes in tone. It supports intricate subjects such as architecture, plants, and portraits. The process involves more preparation and specialized equipment than a simple block print, so learn the studio’s safety procedures and follow instructions for any chemicals and tools.
Screen Printing: Layer Flat Colors
Screen printing uses a mesh screen and a stencil to control where ink passes onto paper or fabric. You pull a squeegee across the screen, pushing ink through the open areas. For designs with multiple colors, each color usually needs its own screen or carefully planned layer, with accurate alignment between passes.
Try screen printing if you are drawn to clean graphic shapes, bold color, lettering, or editions of similar images. It works well for posters, cards, and wearable designs. The process rewards planning: simplify the artwork into printable layers and consider how colors will overlap before you prepare the screens.
Match the Process to Your Interests
Think about what you want to spend time doing. If carving appeals to you, start with linocut. If you want to develop fine lines and tonal detail, explore etching. If you prefer arranging colors and producing repeated designs, screen printing may be a better fit. The final look matters, but the hands-on steps matter just as much.
Before committing, look at examples made with each process and ask about the tools, space, and instruction a beginner needs. You can also sketch one subject in three simplified versions: a bold carved image, a detailed line drawing, and a set of color layers. That exercise makes each process’s strengths easier to compare.
There is no single best printmaking method; the right choice depends on whether you enjoy carving, drawing fine lines, or building color layers. Start with the process whose working steps sound engaging, then make a simple test print and learn from the result. Pressed Line Studio can help you explore beginner options and find a class that fits your interests.